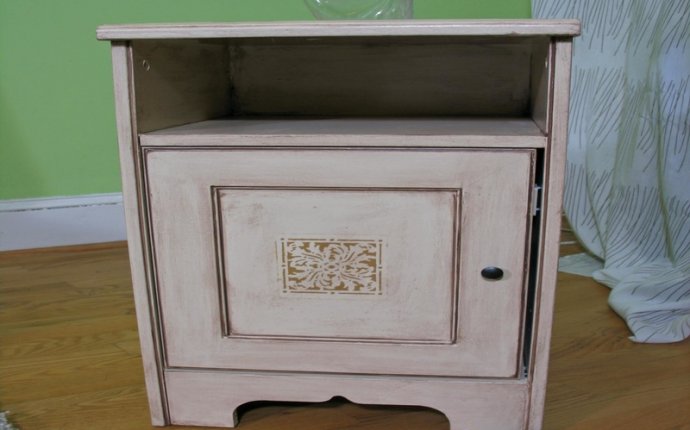
Antiquing Furniture with Stain
I did four coats of stain on top. {Sometimes I just can't leave well enough alone}.
I sanded with 400 grit paper between the first two coats of stain
{I also left room for plenty of drying time in between staining and sanding}.
Instead of stripping the bottom, too, I used the Zinsser primer that is designed to cover anything {because I wasn't 100% sure what the original finish was, as in oil based or not?} This primer really works...I painted a mirror with it, for crying out loud.Then it was on to the red. It took three coats. Three. But, I persevered.
Truthfully, it could have probably taken a fourth coat, too. But that would have sent me to the looney bin. Each coat took 24 hours to dry...so the three coats took three full days. And I'm just not a patient person.
After letting the last coat dry overnight, I went at the painted areas with the sander.
So many of you have chatted with me about this method, so I made a video just for YOU with the step-by-step process:
Again, to see the complete "aging with stain" process,
After the aging, I went over the entire piece with satin polyurethane {I did the top twice and sanded lightly with 400 grit sandpaper in between coats}.
I opted to leave the hardware in the original state. I thought about using some Brass-O to clean it, but I decided the aged bronze was a bit more true to the shabby finish I gave her. And truly, I've never redone a piece in which the original hardware was in such great shape that I could use it on the refinished piece. This was a very well-cared for piece!
The only other thing I may go back and do later is mod-podge a pretty patterned paper into the cabinets and drawers {just on the inside}.
I love how it turned out.
The stained top with all of its marble-y goodness is my fave.
I can't wait to get her into my kitchen and really enjoy the heck out of her. Can you imagine how pretty all of the Thanksgiving pies will look displayed on this? I'm giddy.


